Basic textures in GIMP: Metal
Overview
This mini guide shows how to create a basic metal texture in GIMP from scratch.
Required tools
Creating a basic metal texture
- First of all create a new square image. For this tutorial I've created a 512x512 image, but you can use any size you want.
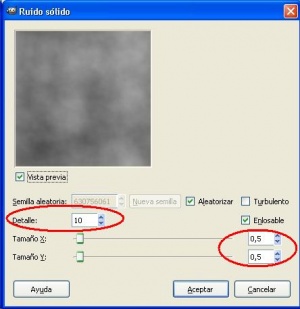
- Select the menu option Filters -> Render -> Clouds -> Solid noise. A window will pop up like the one shown in picture Solid noise window.
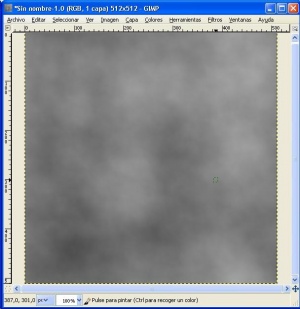
- Set the detail to 10 and the X and Y sizes of the particles to 0,5. Either enter a number in the Random seed box, press the New seed button to generate a random number or check the Randomize box to generate a random number and then press the OK button. Wait until GIMP generates the image that will look similar to the one shown in picture Basic metal texture. And you are done!
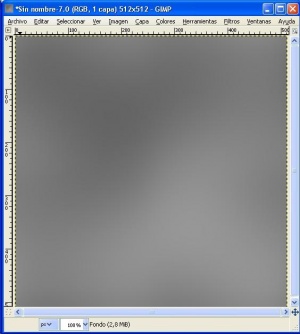
- Note: If you set the detail to a lower level, for example to 1, you will get a smoother look for the metal texture, like the one shown in picture Smoother metal texture. You can play with the settings until you get the look you prefer.
Golden metal
To give the metal texture a golden look:
- Add a new transparent layer by selecting the menu option Layer -> New Layer
- Add a name for the new layer, select Transparency on the pop-up window and click OK
- Note: To see and work with the different layers that you have in your image:
- Select the menu option Windows -> Dockable Dialogs -> Layers '
- This will open a window with the layers stack for your image as the one shown in picture Layers stack'
- To work on one of the layers, select the corresponding layer in the stak and then work in GIMP main edition window: all you do (painting, erasing, resizing, etc) will be done on the selected layer.
- To hide/show one of the layers, click on the eye icon at the left of each of the layers in the layer stack.
- Note: To see and work with the different layers that you have in your image:
- Fill the new layer you've just created completely with the a88714 colour using the Bucket fill tool.
- Change the layer mode to Hard light and leave the Opacity value at 100 (you can play with different values and see which one suits better your requirements).
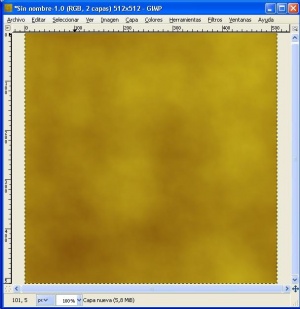
- Select the menu option Layer -> Merge Down and your texture will look similar to the one shown in picture Golden metal texture.


