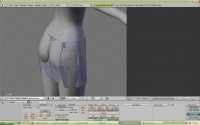
Blender mbass tutorial
Download Blender, Python, Skeleton.nif (this is an older version of Blender, however it matches this tutorial):
The version of Blender I use can be downloaded here: link
Install in the order as the text file indicates, this text file comes with the download*
Download whatever body you prefer. In this tutorial, I used HGEC c-cup, m-lowerbody
Contents
1.0 Blender Setup
This part will be true only if you are using the factory settings The following are my preferences in using Blender
1. Open Blender
2. Press 'a' on the keyboard till all a objects are highlighted
3. Press delete, and press enter (or click 'Erase selected Object(s)')
4. Move the mouse to the lowest part of the top title bar, a double arrow will appear. Left click, and drag down the bar
menu to reveal the view & controls menu.
5. Click on 'turntable' and 'pan view'
6. Hide the view & controls bar
7. In between the lower window and middle window, move the courser in between, and right click once the courser turns to a double arrow.
8. Click on 'split area', and divide the main window into two.
9. Change the right window to UV/Image Editor
10. Click on file, and save default setting
- Setup complete, this new configuration will start-up each time you start up blender*
1.1 Setup Nude Mesh
I prefer to make my outfits as one nif file, this is due to the fact that you can hide more body seams*
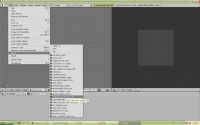
1. File > Import > NetImmerse/Gamebryo <== I will refer to this as "import nif"
2. Locate the nif files which you downloaded. You might need to move one of the windows to make navigation easier
3. For each nif file imported in this section, highlight only "Realign Bone Tail + Roll" and "Send Bones To Blind Position".
!!!very important!!! anytime you have an existing mesh already imported into blender, you MUST have all meshes highlighted (by pressing 'a' on the keyboard) before importing the next mesh*
4. Import all hand, foot, upperbody, and lowerbody.
- to change views, hold shift, then press in the mouse wheel...them move the mouse*
5. Highlight, and delete all 'bones' (aka armature). Make sure to delete all 4 sets.
the armature looks like the black dots, some of which are connected by a line*
6. Save your file
blender does NOT automatically save, even when the program is closed*
we want to eliminate some seams*
7. Highlight all meshes, by either holding shift and right clicking on each mesh, or press 'a'
8. Object > Join Objects
9. Switch to Edit Mode, press 'a' to deselect the vertcies
10. Zoom in to the waist (rotate the mouse wheel) *we are going to eliminate that seam*
11. We want to find a duplicate vertcie, to find it, right click once.....then right click a second time. If the same
vertcie appears to reference two difference meshes, that is the one we need to join together.
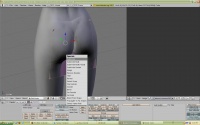
12. Once you have located it, hold shift, right click twice (to highlight both vertcies), then press 'w', then click on merge.
in this case, you can select either first, last, or center*
13. Work your way around the whole body to eliminate the waist seem
14. Do the same for the wrists and ankles.
15. Save your file.
1.2 Creating a New Mesh
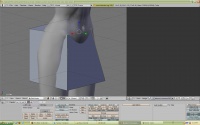
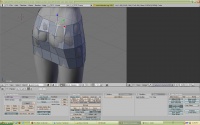
In Object Mode* 1. Add > Mesh > Cube
2. move the cube to approximately where you want the new mesh to be located
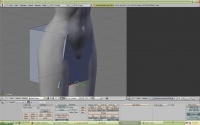
3. Switch to Edit Mode, hold shift, right click on the top two vertcies, and move them back a bit
4. press 's' on the keyboard to scale the vertcies in a bit
6. Move vertcies out to hide the nude mesh
7. Click on the top and bottom vertcie, then press delete.
8. Press 'a' to highlight all, press 'w' and Subdivide again
9. Move vertcies out again to cover nude mesh
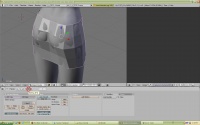
10. Go to object mode. Notice how the mesh looks like segments of squares. To fix this, make sure you are in editing mode as shown in the bottom panel, and click set smooth.
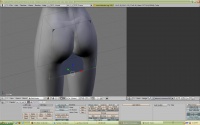
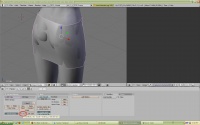
11. fine tune the mesh so that the skirt does not let the nude mesh show.
12. Save your file
1.3 Setting up a Uv
setting up a good uv takes practice, It is good to understand how texture files work for this section*
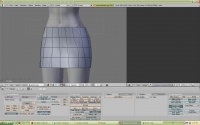
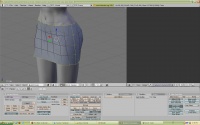
1. Highlight the top row of vertcies. I used the border select (locate the mouse to the bottom left of where you want to
highlight vertcies, press 'b' , left click on the mouse, and make the dotted box enclose the vertcies you want to highlight.
Highlight all the vertcies as shown in the second figure.
2. Press ctrl+e, click mark seam
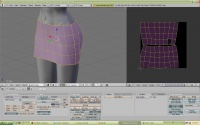
3. Highlight all pressing 'a', type 'u' and click unwrap. On the right window, a UV will show. You will need to zoom in to
get the view I have as shown
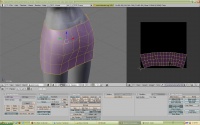
An alternate version to a UV is show with a single seam down the back side of the skirt*
1.4 Setting up the texture reference
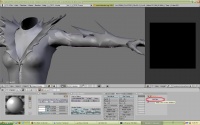
1. Select object mode, select the shading panel, and select the material buttons mode, click on add new
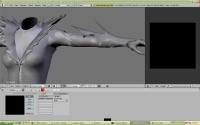
2. In the texture menu, click 'add new'
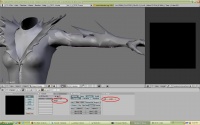
3. Map input to UV
4. Click on the texture Button
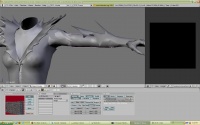
5. Select texture type to image, and load image (this is a texture reference)
a preview of the texture will show once selected*
